The Board Approves Pictures: A Modular 3D Kit for HOA Yard Changes
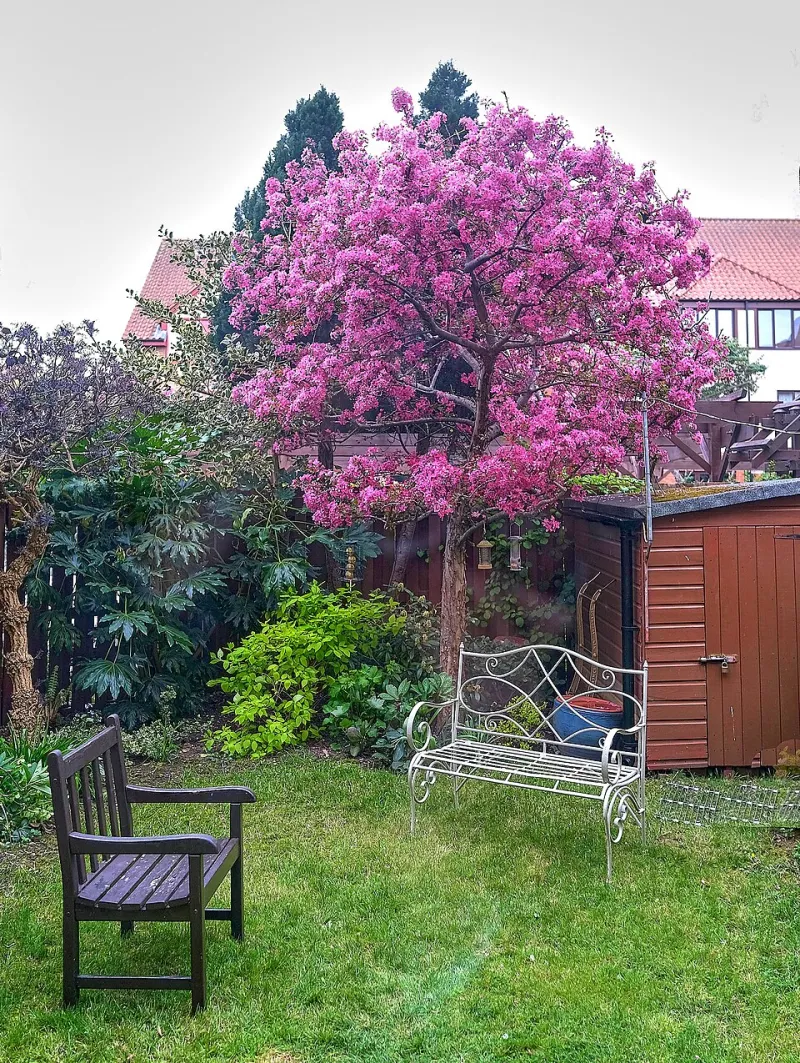
Photo: Anthony O'Neil , CC BY-SA 2.0, via Wikimedia Commons
A homeowner wants a six-foot privacy fence. The contractor has a solid plan. The HOA architectural review committee has a stack of PDFs and a monthly meeting. Somewhere between the contractor’s scope sheet and the board’s checklist, the project stalls—not because the fence is wrong, but because nobody showed the board what “six feet, cedar, along the side yard” actually looks like from the street, the neighbor’s deck, and the drainage swale.
That gap is where a 3D artist can do quiet, useful work. The job is not to make a glossy hero render. It is to turn a proposed yard change into a board-readable packet: clear dimensions, honest context, and enough visual evidence that the committee can vote without asking for a second site visit.
Start With the Questions the Board Already Asks
Most HOA architectural review processes revolve around a predictable set of concerns. Height. Setback. Visibility from neighboring properties. Color and material consistency. Drainage. Maintenance. Sometimes sightlines, easements, or a specific covenant about outbuilding roof pitch. You do not need to guess these. Ask the client for the CC&Rs, the application form, and any recent approval letters. Those documents are your modeling brief.
Build the render around those questions. If the board cares about fence height, put a dimension line on the elevation. If it cares about color, show the paint scheme on the actual siding under neutral daylight, not under a dramatic sunset. If it cares about drainage, include a simple note on the site plan and keep the shed floor elevation visible. The prettiest image in the packet should also be the most informative one.
Build the Lot Base Once
The reusable part of this workflow is not the fence. It is the lot. Start with a simple, accurate base model: grade, house massing, driveway, walkways, property lines, and the relevant neighbor sightlines. A survey or plat is ideal. Aerial imagery and a few phone photos can fill gaps. Keep the model clean and low-detail; this is a decision model, not a marketing asset.
The goal is a base you can reuse for the same client or a similar property type. Set up a camera at eye level from the street, another from the neighbor’s side, and an overhead view for dimensions. Lock those cameras. When the board compares the existing condition to the proposed condition, the only thing that should change is the proposed work.
Assemble a Modular Yard Kit
A small library of well-made, scale-correct pieces covers most HOA requests. Think of it as a kit of parts, not a catalog of finished scenes.
- Fence panels and gates: privacy, picket, horizontal slat, and composite variants in common heights. Include posts, caps, and a simple gate swing.
- Sheds and outbuildings: a few footprints and roof pitches, with doors and windows that can be swapped. Keep the massing simple enough to edit in minutes.
- Paint and material swatches: shingle, siding, trim, and door colors mapped to flat materials so you can change the scheme without rebuilding the house.
- Landscape blocks: low shrubs, small trees, and a generic lawn plane. These help the board read scale and screening without turning the render into a gardening proposal.
- Annotation objects: dimension lines, north arrows, setback labels, and simple callouts that stay legible in a PDF.
Name the pieces clearly and keep variants organized. The point is speed with consistency: a fence that is six feet tall in one view should be six feet tall in every view.
Render for Review, Not for Instagram
HOA boards are not scrolling for inspiration. They are checking whether the request fits the rules and whether it will bother the neighbors. Use flat, neutral daylight. Avoid lens flare, heavy depth of field, and cinematic shadows. Show the existing condition and the proposed condition from the same camera. A simple before-and-after pair does more work than a beauty shot.
Three images usually carry the packet: a street view, a neighbor-side view, and an overhead plan view with setbacks and dimensions. Add a close-up only if the board needs to see a material transition or gate detail. Keep the background calm. The board should look at the fence, not the sky.
Package the PDF Like a Decision Aid
A clean submission PDF has a job: answer the board’s questions in the order they will ask them. A practical page order looks like this:
- Cover page with property address, owner name, and a one-sentence request.
- Overhead plan with property lines, proposed work, dimensions, and setbacks.
- Existing condition photo or render from the street.
- Proposed condition from the same camera.
- Neighbor-side view, if visibility is a concern.
- Color and material schedule with product names or samples.
- Drainage and maintenance notes, plus contractor contact information.
Label everything in plain language. Use large type. Boards often review packets on laptops or phones before a meeting, so a dense page with tiny callouts is a liability. Put the answer next to the question: “Fence height: 6 ft,” “Side setback: 4 ft,” “Paint: Sherwin-Williams Web Gray, flat.” If a rule requires a specific document, include it as an appendix rather than burying it in the middle.
A Workflow That Fits a Busy Week
Collect the documents first, then build the lot base, then place kit pieces. Do not start with the fence. Start with the constraints. Once the base is set, the actual modeling is often a few hours of placement and camera checks. Render at a modest resolution—clean and legible beats huge and slow. Assemble the PDF, then do a dimension pass with fresh eyes. Ask the client to confirm the colors and product names before anything goes to the board.
Where the Artist Adds Value
The 3D work is not just illustration. It is translation. A contractor speaks in scope and materials; a board speaks in covenants and sightlines. The artist builds the bridge between them. A reusable yard kit makes that bridge cheaper to build each time, and a well-organized PDF makes the board’s decision easier. You are not promising approval. You are removing the easy reasons for a deferral.
That is a modest, repeatable service—and in HOA-heavy subdivisions across the US, it is exactly the kind of visual proof homeowners and contractors need before the first post goes in the ground.