The Ten-Minute Turntable: One Rig, Every Asset, Zero Guesswork
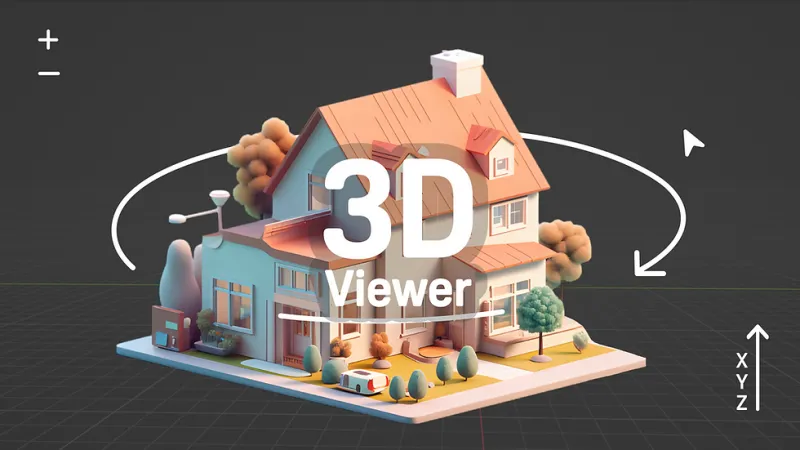
Photo: 3D model turntable render setup with studio lighting and camera, via static.wixstatic.com
Scroll through a marketplace listing page and you can spot the hobbyists instantly. One asset is lit warm from the left and cropped tight. The next is cool and blue and floating near a corner. A third spins at 90 rpm like a microwave plate. Nothing is wrong with any single render, but together they read as noise.
The fix isn't better lighting. It's a rig — a saved scene you open, drop an asset into, and render in about ten minutes without making a single creative decision. Build it once, and every turntable you publish for the rest of the year will look like it came from the same studio.
The setup below is what we use for asset listings and client preview links. It's deliberately boring, which is the point.
Step One: Build a Master Scene and Never Touch It
Create a fresh file called Turntable_MASTER. Inside it, you want three things: a camera parented to an empty at the world origin, a lighting group, and a ground disc that stays hidden from camera rays but catches a soft contact shadow.
Save it. Then save a second copy called Turntable_TEMPLATE and open that one when you work. The master file is the archive copy you go back to if you break something at 11 p.m.
Before importing anything, normalize the asset. Every model should occupy the same visual space regardless of whether it's a coffee mug or a fire hydrant. The easy method: compute the object's bounding sphere, tell your camera's distance to be 2.2 times that radius, and keep focal length fixed. The slightly more manual method is to parent the asset to an empty, scale the empty until the object's largest dimension hits 20 centimeters, then apply no further changes. Either way, the camera does not move between assets. Ever.
Also set the object's pivot point at its visual center, not its origin. This one habit kills the wobble that makes turntables look amateur.
Step Two: The Camera Numbers That Actually Work
Use a 50 mm-equivalent focal length. Wider than 40 mm and edges start to bow on a rotating object; longer than 85 mm and the spin feels flat, almost like a diagram.
Elevate the camera 15 to 20 degrees above the horizon. Straight-on reads as a catalog sheet; too high reads as a toy.
For the orbit itself, set 240 frames at 24 frames per second. That's a clean ten-second loop. If your renderer handles a stepped rotation more cheaply, 36 keyframes at 10 degrees each interpolated with linear curves will do the same job — just make sure the interpolation is linear, not Bezier, or the spin will ease in and out and look like it's stuttering.
For hard-surface tools and mechanical parts, consider an orthographic camera variant instead. It hides perspective distortion on long objects and looks more like a technical showcase. Save both cameras in the master file and toggle between them.
Step Three: Light Once — Three Lights or One HDRI
Pick one approach and commit to it across the whole library. Consistency matters more than either option's individual merits.
The three-light route gives you total control. A key area light at roughly 45 degrees horizontal and 45 degrees vertical, sized generously so highlights are soft. A fill at about a quarter of the key's intensity, opposite side, often a large bounce panel instead of a light. A rim light behind and slightly above the asset to separate it from the background. Keep the rim's intensity fixed — do not tweak it per asset.
The HDRI route is faster and travels well. One neutral studio HDRI, rotated so its brightest area sits at about the 10 o'clock position relative to the camera, plus a single soft area light to add a directional highlight where you want the eye to land. Because the HDRI never changes, reflections on metal and glass stay coherent from asset to asset.
Either way, use the same color management pipeline and the same background. A mid-gray, roughly 0.18 linear, is the safest default for marketplace thumbnails because it survives compression and doesn't fight with the interface. Export a transparent-background version as a second pass if clients need to composite.
Step Four: Export Presets for the Web
You don't need one file. You need three, and they should be export presets you never rebuild.
- MP4 hero loop — 1080 by 1080, 24 fps, H.264, CRF around 20 to 23, faststart enabled, target under 5 MB. This is your listing video and your client preview.
- GIF fallback — 480 pixels square, 24 to 40 frames, 12 to 15 fps, under 2 MB. GIFs still convert better than video embeds on some marketplaces and email previews, even now. Keep the palette limited and dither off for flat backgrounds.
- Still set — eight evenly spaced angles at 1200 pixels, PNG, for gallery grids and PDF spec sheets.
Name everything with the same pattern: assetname_turntable_v01.mp4. When a client asks for a revision in March, you'll know exactly which file they mean.
The Pre-Flight Checklist
Run this every time, even when you're in a hurry. Especially then.
- Pivot at visual center — check for wobble on the first and last frames.
- No clipping through the ground plane at any angle.
- Silhouette reads clearly at all eight cardinal angles — if it turns to mush at 90 degrees, rotate the start frame.
- Scale normalized to your template standard.
- Same background, same HDRI or same three lights, no exceptions.
- No text, watermarks, or logos baked into the frame.
- Loop is seamless — frame 241 should equal frame 1, so export frames 1 through 240 only.
- Watch it on a phone at arm's length, which is how most buyers will see it.
- File size under target and faststart confirmed.
- Log the render in a simple sheet: asset name, date, settings version.
The most common mistakes are all consistency failures: a new light for a special asset, a new crop for a wide object, a GIF with a different frame rate because someone was in a rush. Resist all three. The rig is the product.
Ten Minutes, Every Time
Once the template exists, the actual work is import, normalize, check the checklist, hit render. Most assets clear it in under ten minutes of human attention, and the render itself can run while you're doing something else.
What you get back is a library that looks like a body of work instead of a folder of experiments. Buyers trust that. Clients trust that. And you stop re-solving the same lighting problem forty times a year.